A Practical Guide to Using Water Testing Kits at Home
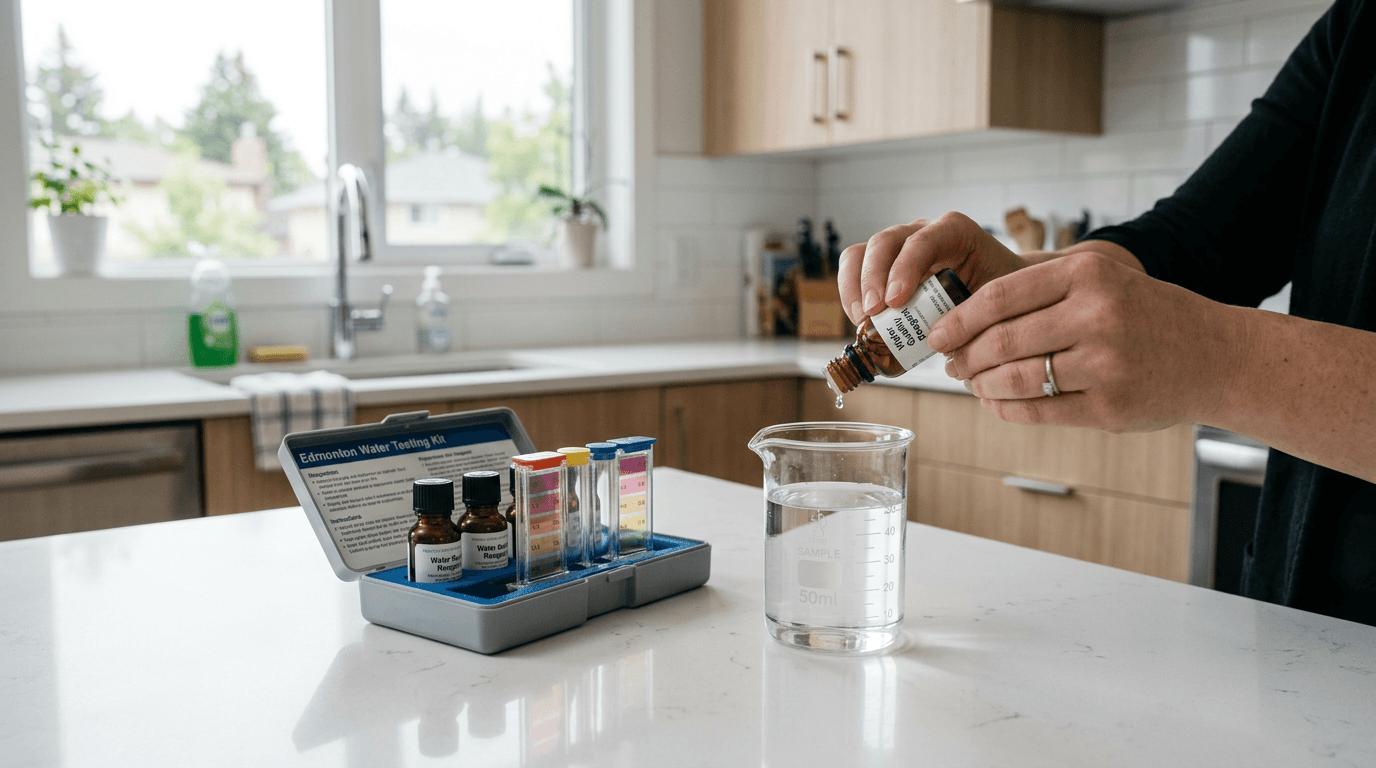
Holding a reactive paper strip under a kitchen tap and trying to match its rapidly changing colour to a tiny printed chart is a common first step in diagnosing plumbing and water quality issues. Edmonton's municipal water typically carries around 165 mg/L (9.6 grains per gallon) of hardness, but the exact composition at your specific faucet depends on the season, local distribution pipes, and your home's internal plumbing. Using water testing kits offers immediate, localized feedback on what is flowing through your pipes, provided you know exactly how to draw a clean sample and interpret the resulting chemical reactions before they degrade.
Quick Summary
Home water analysis relies on chemical reagents to measure mineral content, pH, and specific contaminants at the point of use. Accurate results require strict adherence to sampling protocols, temperature controls, and timing constraints.
- Drop titration methods provide more granular data than standard multi-pad strips.
- Testing stagnant water skews baseline results for metals and minerals.
- Rural groundwater supplies require specialized biological and heavy metal panels.
- Test results degrade rapidly once exposed to air and light.
- Accurate measurement dictates whether a localized filter or a whole-home system is required.
Table of Contents
- 1. Identify Your Target Contaminants and Minerals
- 2. Select the Right Testing Methodology
- 3. Prepare the Plumbing and Draw the Sample
- 4. Execute a Well Water Panel
- 5. Interpret the Data and Map a Treatment Plan
- Common Pitfalls & Troubleshooting
- FAQ
- Recommended Reads
1. Identify Your Target Contaminants and Minerals
You cannot test for everything at once
Testing water is not a singular action. It is a series of specific chemical queries. Before drawing a sample, you must determine what you are trying to measure. Municipal water supplies are heavily regulated and treated. Because of this, your primary concerns usually revolve around aesthetic issues, scale formation, and residual disinfection chemicals. Understanding what is hard water is foundational. This term refers specifically to the concentration of dissolved calcium and magnesium ions in the supply. These alkaline earth metals precipitate out of the water when heated or when the water evaporates, leaving behind the stubborn white scale that ruins fixtures and shortens the lifespan of water heaters.
In addition to hardness, municipal users in the Edmonton area often test for total dissolved solids (TDS) and residual chlorine. Chloramine or chlorine is injected at the treatment plant. This keeps the water safe. It travels through miles of underground infrastructure. By the time it reaches your home, that chlorine is no longer necessary, but its distinct chemical odour and drying effect on the skin remain. Testing for free chlorine versus total chlorine requires different reagents, as free chlorine is the active disinfectant, while total chlorine includes compounds that have already reacted with organic matter. If you are experiencing metallic tastes, you may also need to test for copper or lead, which typically leach into the water from the home's own aging pipes rather than the municipal supply.
2. Select the Right Testing Methodology
Drop titration offers more precision than paper strips
Once you know what you are looking for, the mechanism you use to find it matters immensely. The most accessible option is the multi-parameter test strip. These thin plastic strips feature several small, chemically treated pads that react to different substances. When submerged, the pads change colour based on the concentration of the target substance. While convenient, strips have strict limitations. The colour gradients are often subtle, making it difficult to distinguish between 50 parts per million (ppm) and 100 ppm of a given mineral. Furthermore, the pads can bleed into one another if the strip is held vertically, cross-contaminating the reagents and invalidating the results.
For a more accurate baseline, a liquid drop water hardness test kit is standard among professionals. This method, known as titration, involves filling a small vial with a precise volume of sample water. You add a buffer solution, followed by an indicator dye that turns the water a specific colour (often red or pink) if calcium and magnesium are present. You then add a titrant drop by drop, swirling the vial after each addition. The exact moment the water permanently changes from red to blue, the titration is complete. You calculate the hardness by counting the number of drops it took to force that chemical shift. This method removes the ambiguity of colour-matching; the binary shift from pink to blue provides a concrete, repeatable number that dictates the exact capacity required when looking at installed water softeners.
3. Prepare the Plumbing and Draw the Sample

Stagnant water distorts the baseline reading
Taking a water sample incorrectly is the most common point of failure in home analysis. Water that has been sitting in your copper pipes, brass fittings, or a hot water tank overnight will not accurately represent the water entering your home from the main line. Stagnant water leaches heavy metals from internal plumbing and allows particulate matter to settle. Furthermore, hot water alters the solubility of minerals and can cause certain testing reagents to react prematurely or incorrectly.
Always draw your baseline sample from a cold water tap. Ideally, choose a tap that sits as close to the point where the main water line enters the foundation as possible. If you are testing the water to size a whole-home system, bypass any existing filters or softeners to ensure you are measuring the raw supply.
Practical rule: Flush the cold water tap on full pressure for a minimum of two minutes before capturing your sample to ensure you are testing the active main supply rather than the water resting in your interior pipes.
Use a clean, thoroughly rinsed glass or the specific plastic vial provided with the test kit. Traces of dish soap or residual water from previous tests will drastically alter pH and TDS readings. Fill the container smoothly without splashing to avoid heavily aerating the water, which can temporarily skew pH readings by introducing excess carbon dioxide.
4. Execute a Well Water Panel
Groundwater requires distinct biological and heavy metal checks
If your property relies on a private well, such as those in rural acreages near Beaumont or Leduc, municipal testing parameters are vastly insufficient. Surface runoff, agricultural activity, and deep mineral deposits directly impact the aquifer. Well water testing is a more rigorous process because the homeowner is solely responsible for both the aesthetic quality and the biological safety of the supply.
A standard well water test kit must include a coliform bacteria check. This is typically a presence/absence test utilizing a sterilized bottle containing a nutrient powder. You fill the bottle, seal it, and incubate it at room temperature for 48 hours. If the water turns yellow or fluoresces under a UV light, biological contamination is present. Beyond bacteria, well owners must test for nitrates, which often indicate agricultural runoff, and specific states of iron. Iron in well water exists as either ferrous (clear water iron, completely dissolved) or ferric (red water iron, oxidized and visible). Strips often fail to differentiate between the two, yet the distinction is critical: ferrous iron can be removed by a specialized water softener, while heavy ferric iron requires dedicated oxidation filtration before the water ever touches a softening resin.
5. Interpret the Data and Map a Treatment Plan
Raw numbers require context to become actionable
Generating a column of numbers is useless if you do not understand how those figures interact. Water chemistry is highly interconnected. For example, high hardness combined with low pH creates highly corrosive water that will damage standard softening equipment over time. Similarly, knowing you have hard water is only half the equation; you must map that hardness against your household's daily water consumption to size a system correctly.
If your test reveals high hardness (above 7 grains per gallon) alongside noticeable chlorine residuals, standard practice dictates addressing the chlorine first. Chlorine degrades the specialized resin beads inside a water softener, causing them to break down into a mush that clogs the plumbing. In such scenarios, a de-chlorination carbon tank must precede the softening unit. For drinking water, if your testing indicates a high Total Dissolved Solids (TDS) count alongside hardness, a point-of-use reverse osmosis system, such as a Triton Pure or Triton Pure Tankless setup, is often the necessary final step, as standard softeners remove scale but do not lower total TDS.
Common Pitfalls & Troubleshooting
The Phantom Chlorine Reading
- Symptom: You test the water and register zero chlorine, yet the water out of the tap smells distinctly like a swimming pool.
- Fix: You are likely using a test strip that only measures 'free chlorine'. Edmonton often treats water with chloramine (chlorine bonded with ammonia). You must use a 'total chlorine' reagent to detect chloramines accurately.
Titration Over-Dropping
- Symptom: Your drop test indicates an impossibly high hardness level (e.g., 40+ grains per gallon) that does not match local geological data.
- Fix: The drops were added too rapidly. The chemical shift from red to blue takes a few seconds to stabilize. Swirl the vial and wait three full seconds between each drop. Adding drops continuously will cause you to overshoot the endpoint significantly.
Temperature Skew on pH Strips
- Symptom: The pH strip indicates the water is highly acidic, but there is no corresponding corrosion on your plumbing fixtures.
- Fix: The water sample was drawn from the hot water tap. High temperatures alter the chemical reaction on the pH pad. Always draw a cold sample and allow it to sit for ten minutes to reach room temperature before dipping the strip.
Delayed Strip Reading
- Symptom: The test strip pads turn entirely black or dark brown after sitting on the counter for ten minutes.
- Fix: Test strips are engineered to be read at precise intervals - usually between 15 and 60 seconds after submersion. Once exposed to ambient air and ongoing chemical reactions, the colours continue to darken and the results become completely invalid. Discard the strip and test again, timing the reading with a stopwatch.
FAQ
How often should municipal water be tested at home?
Municipal water quality is generally stable, so testing annually or whenever you notice a distinct change in taste, odour, or pressure is sufficient for most households.
Why does my test kit show different hardness levels than the city's annual report?
Municipal reports provide an average taken at the treatment plant. By the time water travels through the distribution network and your home's internal plumbing, trace minerals can accumulate, often resulting in slightly higher localized readings.
Can a home test kit detect lead or heavy metals?
Most basic home strips only test for hardness, pH, and chlorine. Detecting lead requires a specialized, highly sensitive reagent kit or, preferably, sending a sample to a certified laboratory for mass spectrometry analysis.
Do I need to test my water if I already have a softener installed?
Yes. Testing the water downstream of the softener on a biannual basis confirms that the resin bed is still effectively exchanging ions and that the system is not pulling hard water during its regeneration cycle.